
Family members need a relaxing, light-filled place to just look outside, sit down, flip through a magazine, or read a favorite novel. That is what window seats are designed for. And comfortable window seat cushions are a must for making this a very comfortable place, completing the whole concept of a perfect space in the house for some down time. If your home is not built with a window seat, then you may want to take some time to plan for one to be put in. In addition to being a great place for relaxation, it is also a great space saver.
You can actually make or have someone set up window seats that open up for extra storage space to maximize its purpose. The style and design of a window seat cushion depends greatly on the form and design of the window and the window seat. Window seat cushions can actually be grouped into two types. One is based on the materials used, like the foam and the fabric, while the next one is based on the form and design of the window seat itself.
Cushion Styles Based on the Design of Window Seat
The design of the window seat should be considered when coming up with cushions for the window seat. It is not very easy to purchase ready-made cushions because the dimensions of the window seats are usually not standard and comes in various sizes. That is why it is often easier to either make your custom seat cushions or have them custom made, to best fit the design and measurements of your window seat.
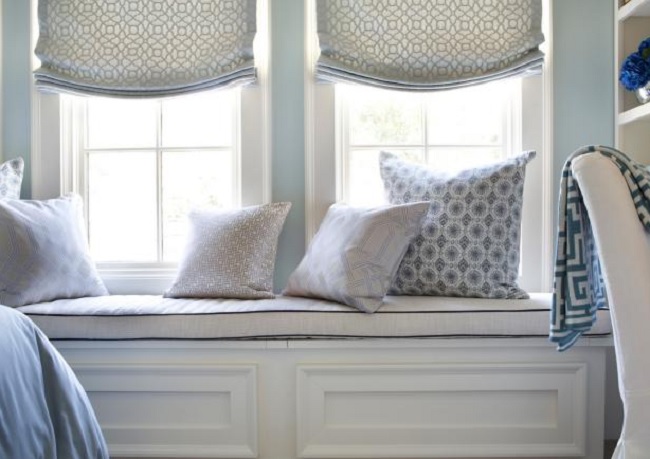
The most common and traditional window seat shape is the flat rectangle. Flat, rectangle-shaped cushions are very convenient since most window seats are maximized and used as a storage area. This is also the best choice and the perfect fit for most window designs.
Curved cushions for window seats are best for those that are arched or protruded outside the house, such as with bay windows. This creates a semi-circular shape of window seat. This cushion might be a little more challenging to make on your own, but with the right skill, patience and creativity, it can definitely be done.
Cushions for Window Seats Based on Materials
You need to consider the materials that you are going to use for your cushions. The upholstery fabric and the foam padding are the two essential materials that will have much impact on the style and feel of the cushions for the window seat. You can choose from a wide variety of upholstery and other durable fabrics in different patterns, designs and materials.
The more ingenuity you put into your cushion project, the more you can come up with creative designs. Silk, leather, wool or micro suede can all be used, but be sure that whatever you choose, it is suitable for the room or location that you are going to use it in. The colors and designs should go with the color of the room, drapes and the throw pillows.
Materials for Window Seat Cushions
It is possible to hire a designer or an upholstery company to take care of everything to set up your window seat, from designing the seat itself to making the cushions to fit it. This way you are sure to get beautifully handmade cushions exactly to your specifications.
For those who prefer a more economical approach and enjoy hands on projects, you can make this a fun and creative a diy project to make your own seat cushions. As long as the materials are all prepared, and you become equipped with the knowledge on how to go about with process, then you are ready to start.
Here are the materials that are needed in creating window seat cushions. For these materials, you will notice that you don’t even need a sewing machine. What you do need is:
- fabric
- foam padding or any alternative
- shears
- pattern paper
- measuring tape
- thread and needle
- seam binding
With all of these materials, you’ll see how easy it is to create a cushion. It’s as simple as laying the foam on the fabric that you have chosen, and wrapping the fabric around the foam just enough to cover the top side, which is the side that will be sat on. The seam binding is used for fabric long edges, while the short edges should be tacked in place using the thread and the needle. Have a look at the video below to be more clear. So, how about to have a try now?